
9 Tips for Taking Top-Notch Smartphone Photos
Do you take photos to use in your emails, or to post on your business’s blog, website, or social networks? How often are you using a professional photographer, studio lighting, or a high-end digital SLR camera? If your answer is, “not that often,” we won’t report you to the photo police, but taking high quality images is an absolute must in this engagement craving, pin-worthy world.
Luckily, if you don’t have a top notch camera or a professional at your fingertips, your smartphone and some handy tips will do just the trick. Break out your smartphone and use these nine tips to take professional-looking photos with every tap of the screen.
1. Don’t zoom
Smartphone cameras are improving, but the second you start zooming, you lose picture quality. It sounds simple, but simply get closer! Or, take the photo then crop it later. If you do it this way, your picture won’t turn out grainy or blurry.
2. Use the rule of thirds
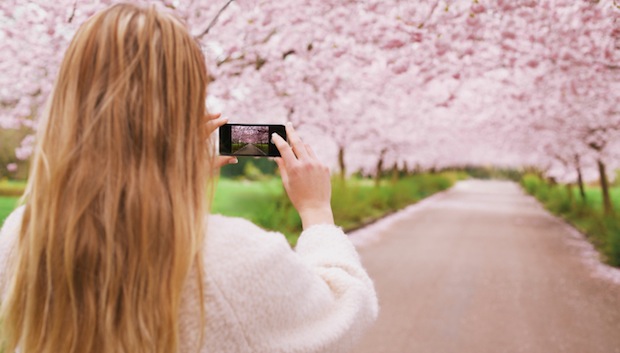
You could be using the nicest of cameras, but if your photo composition is all wrong, you may as well be using a disposable. The rule of thirds is one of the first principles you learn in a photography class as it’s highly important for well-balanced and intriguing photos. The rule is to break down an image and visualize it in thirds, both with horizontal and vertical lines. This gives you 9 imaginary boxes on your proposed photo. The 4 most inner lines on your grid are your guides for placing focal points in your photo. Darren Rowse wrote an entire post about the rule of thirds on Digital Photography School, and states that studies have shown people’s eyes most naturally hit these lines or grids, rather than the center of a photo.
When taking a photo with an iPhone, you’ll notice the gird lines automatically appear on the camera screen.
3. Try camera apps for more control
Rather than snapping photos straight from your camera, try several apps that give you more control. Camera+ is a popular option for iPhone users. DSLR Camera Pro is a hot choice for Android users. As the photographer, you have more options to take creative shots with these apps. Each one costs $3 or less.
4. Add a new lens
You can actually buy lenses for your smartphone. It’s true. Here’s a set of three lenses for $12. They’re magnetic and go right over the camera lens on your phone. If you’re using your camera to take product photos, it’s a pretty small investment to improve the quality of your shots. Online stores like Photojojo carry a plethora of phone lenses, attachments, ring lights and more.
5. Use natural light
Smartphones aren’t great with lighting, so to compensate for this make sure you take photos near natural light. Going outside is a great option, but if you need to shoot indoors, shoot near a window. However, you don’t want to shoot directly into the window or your photo will be too bright. Instead, put your product off to an angle and take the picture with your back to the window.
Using the flash isn’t a good idea either. The flash in your smartphone isn’t great, and will likely cast a yellow light or shadows over your product. It’s not flattering.
6. Use online editing tools
Once you’ve taken your shots, turn to a photo-editing app or tool to crop, straighten, or enhance your photos with filters.
Pixlr Editor, GIMP and Adobe Photoshop Express are all great options. They’re free and easy to use for first timer editors.
Now that we’ve covered smartphone-specific tips, here are three additional tips to transform ordinary pictures into standout shots:
7. Use a creative but simple background
When you’re snapping a photo, the background matters. Suppose you want to take a picture of a model wearing a t-shirt that your company embroidered. The model is the focal point, but you want to select a nice background too. Select a painted wall for the model to stand in front of, or go outside and take the shot. Check out this example from online retailer ModCloth.
Background ideas:
- Go outdoors and find a clear, colorful, or bright background like the side of a brick building
- Place products on wooden tables, floors, or cutting boards
- Hang a piece of ironed fabric on a wall to use as a backdrop
- Find a colored wall to shoot in front of
- Use stone, tiles, or rock walls as a background
8. Try adding props
Adding a prop to your picture can spice it up. Of course, the prop should make sense. Think about how a customer uses your product to come up with prop ideas. Let’s say you sell used books. Your customers probably like to read in a comfy chair in their living room, so why not shoot a book in a chair with a blanked draped over it? These props add to the picture. A picture like this is bound to draw more attention than a snapshot of a book on a tile floor.
9. Take a variety of shots
Practice makes perfect, and variety helps. If you take two or three shots of the same product in a different setting, you’re bound to get a slew of great pics. Eventually, you’ll have a stockpile of product shots that you can rely on.
With these tips, no one will know that your photos were snapped with your phone. Do you use your smartphone to take marketing photos? Do you have any tips to share? If so, feel free to offer tips in the comments section below.
Send emails with top-notch smartphone photos by using VerticalResponse – It’s free up to 1,000 email contacts.
© 2015, Contributing Author. All rights reserved.


 Features
 Pricing
 Partner
 Blog
Blog Support
 More
More Terms of Services
 Privacy Policy
[…] Vertical Response suggests positioning a model in front of a brightly-painted wall; you might also try arranging products on a rustic wooden table, or a blanket on the grass. […]
[…] on your phone or have a great eye for selecting the perfect image, pictures are a powerful tool. Educate yourself as a photo expert: Take pictures of your volunteer experience, post them on social media channels like Facebook or […]