

Build beautiful emails: VerticalResponse’s new editor makes it easy
Our new email editor gives you more freedom to change the layout and individual design elements of your campaigns. To introduce all of the updates and help you start sending emails today, we’ve created a series of how-to guides. In this edition, we look at three exciting tools that will boost the visual impact of your campaigns — templates, image and graphics libraries, and the in-app image editor.
Template gallery
The template gallery is where you find pre-made designs for your emails. Choose from different types of emails such as announcements, newsletters, basic emails, coupons, and more. But to give you as much creative freedom as possible, there’s also the option to upload your own HTML template or start building an email from scratch. All the templates you’ll find in the app are responsive, so your emails will look just as good on a mobile phone or tablet as they do on a desktop computer.
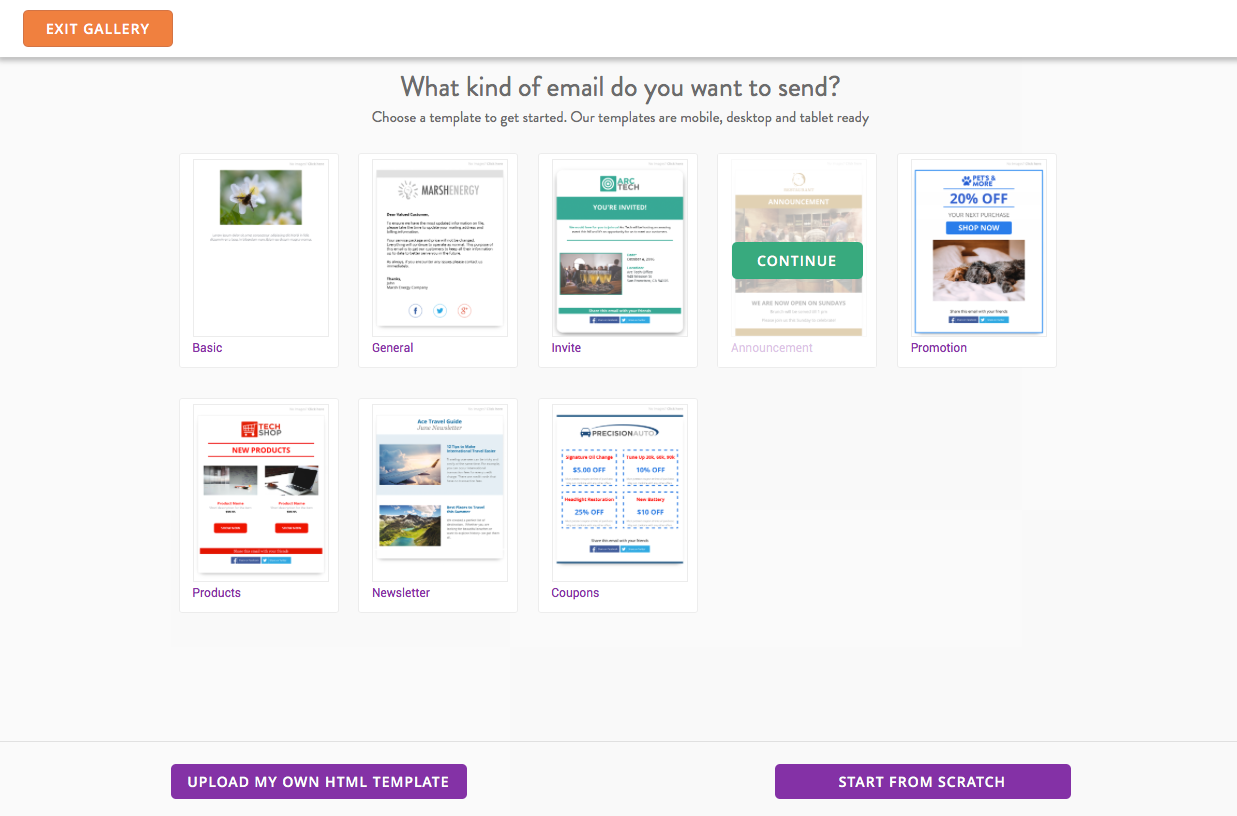
Once you’ve chosen an email template, hover over it and press Continue.
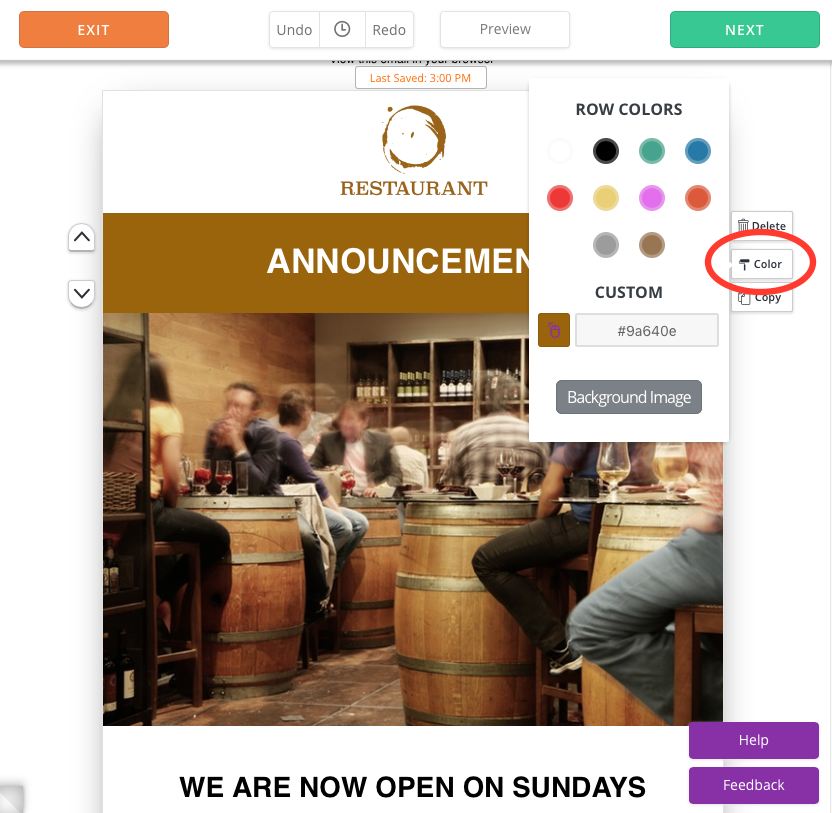
Editing the color of your template
Some of our email templates have coordinating colors to highlight your email’s content, but you can also add your own color to the templates. To change the color of an individual row, click the row you want to edit, then select Color to the right of the row.
To change the color of every row, click the Page Style tab on the left sidebar, and select your color preference under Theme Row Color. In this tab, you can even edit the page’s thickness, border radius, shadow width, and more.

You can change the background of the template by selecting Page Style and then Background. Here you’ll be able to either choose from one of 10 predefined swatches, or enter a color code to use a specific color. In the example below, we’ve changed the background from white to brown.

You also have the option to choose a background image if you want. However, it’s important to note that some of your subscribers’ email programs may block background images. If this happens, the default will be white.

Image and graphics library
If you lack the resources or budget to spend on professional photography or graphic design, we’ve got you covered — the new editor has a large and diverse library of eye-catching images to choose from.
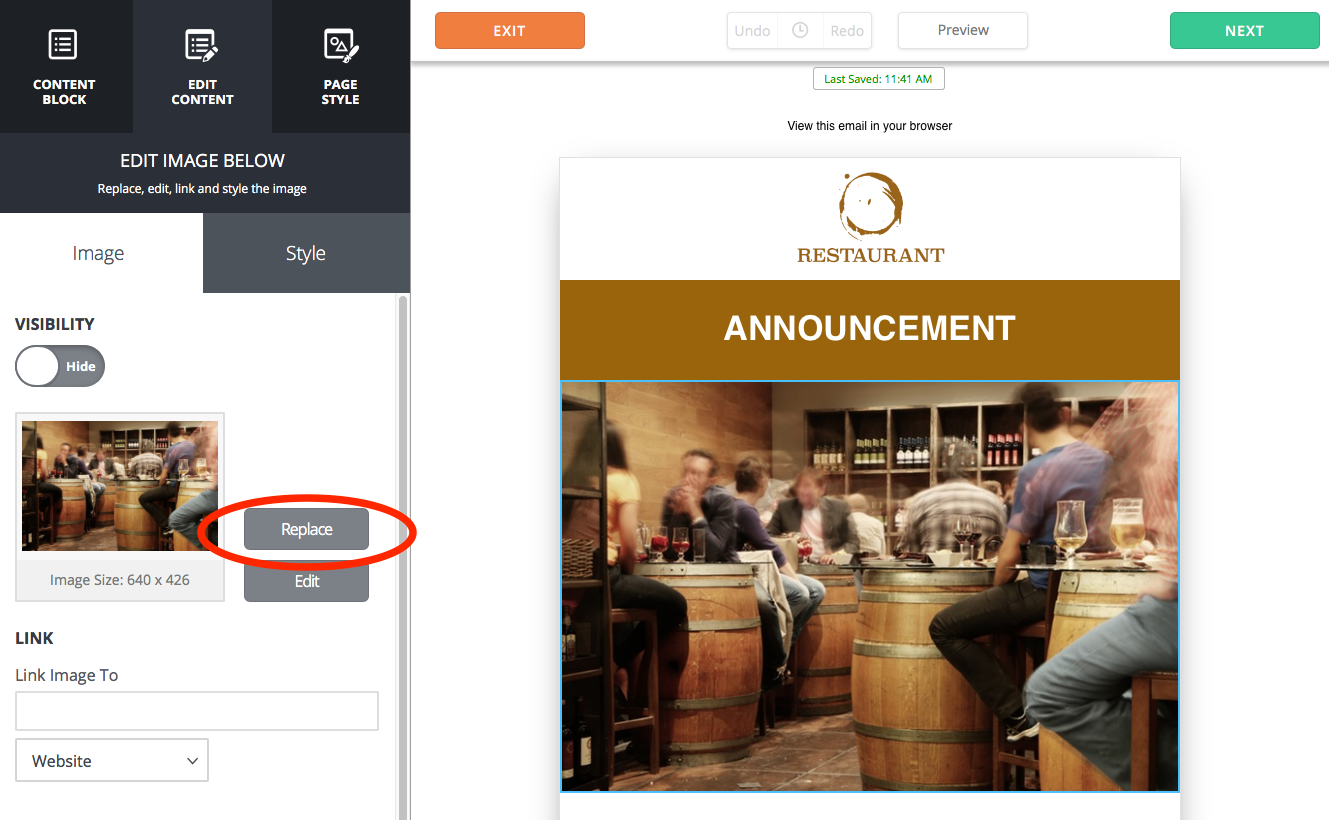
Adding stock images
To access the stock image library, click on an image content block in your email. A blue border around the content block will indicate that it’s selected. Once you’ve done this, you’ll see an image editing menu on the left sidebar. Click the Replace button.
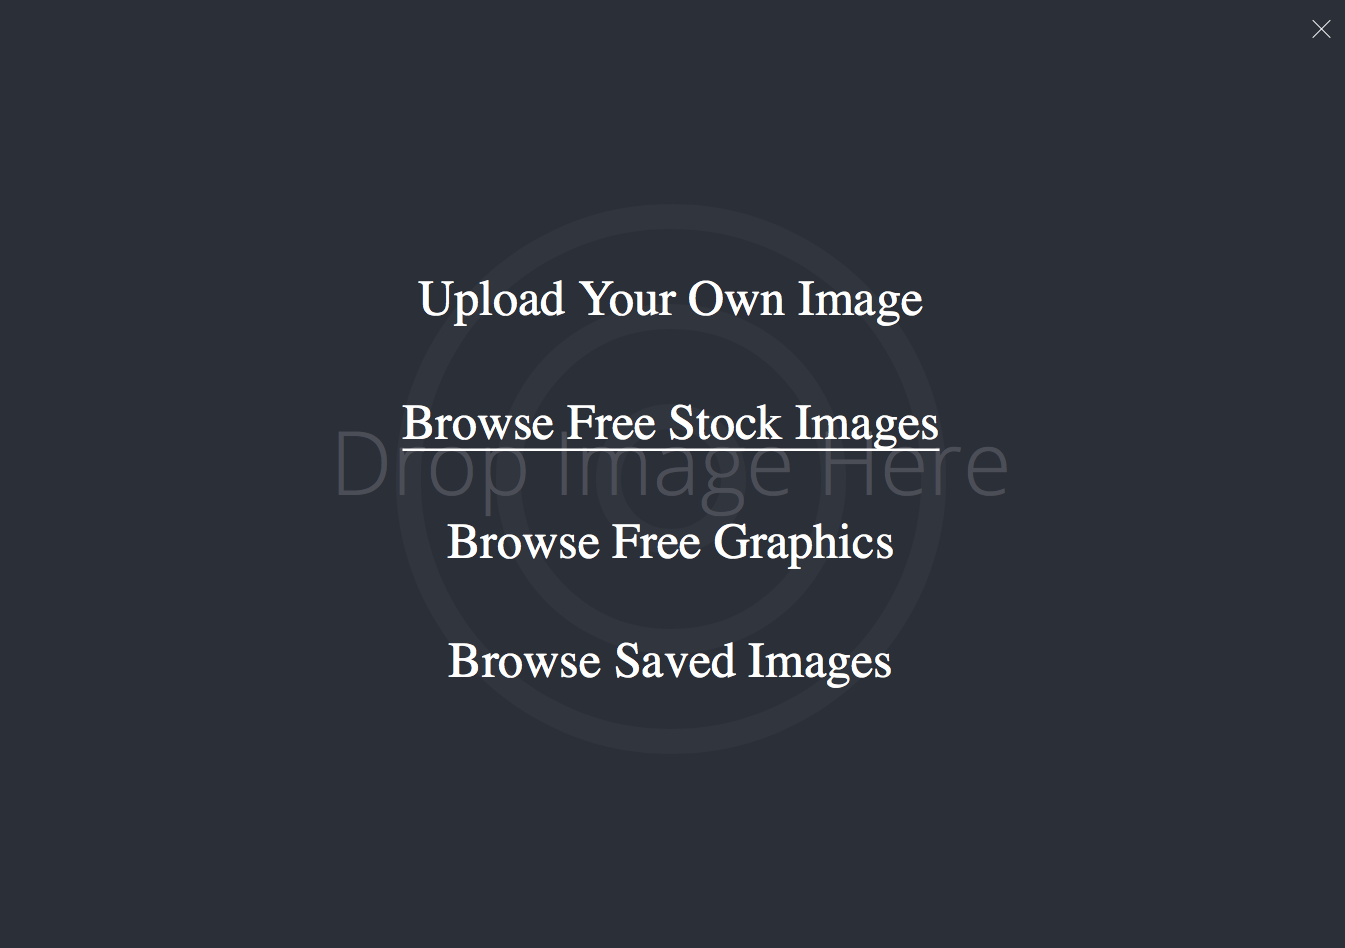
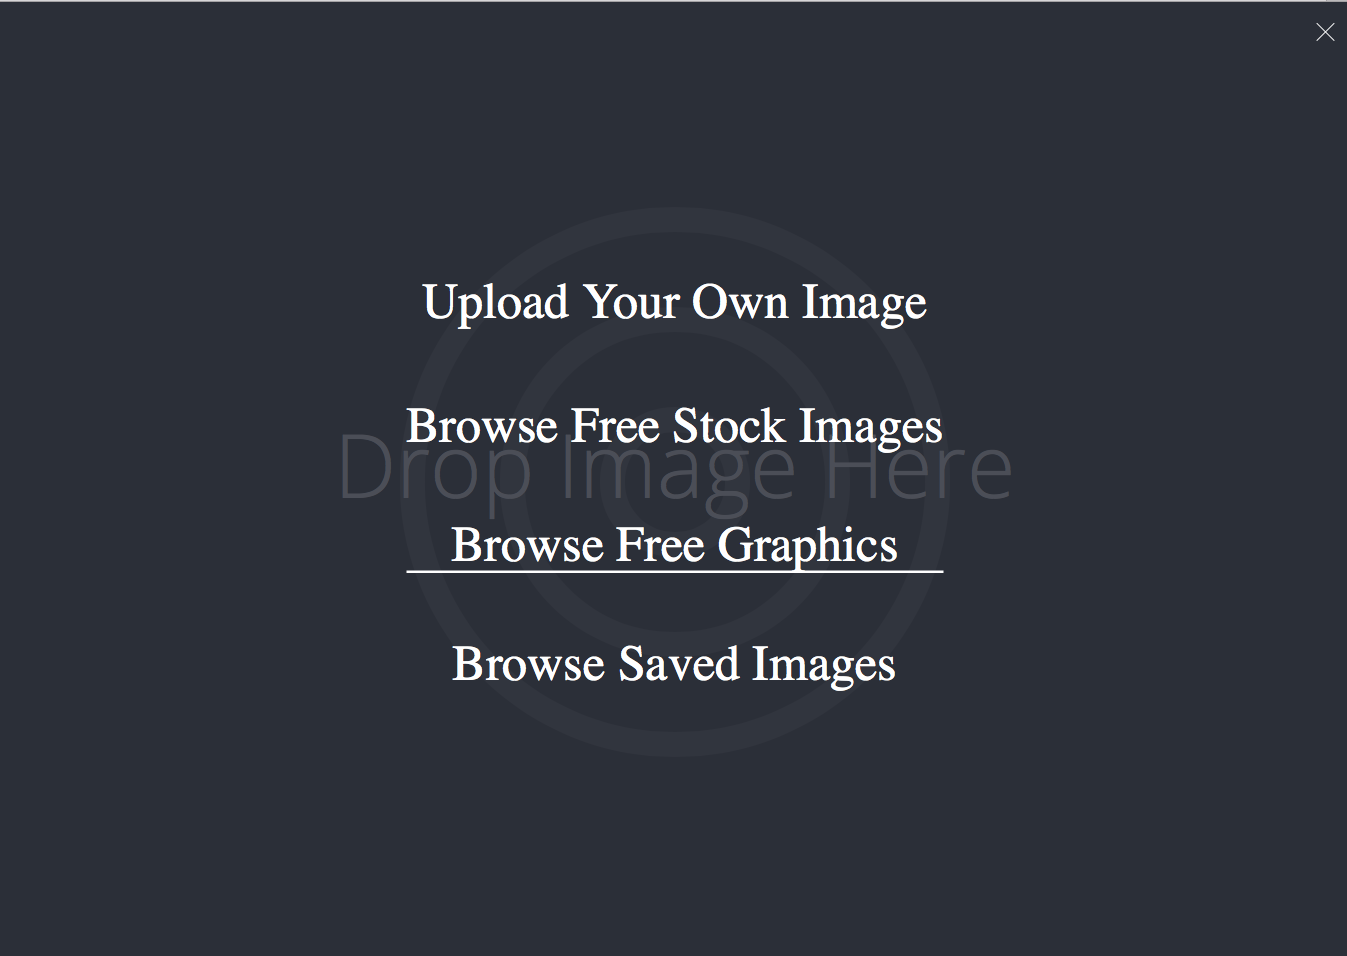
This opens a new window, presenting you with four options: Upload Your Own Image, Browse Free Stock Images, Browse Free Graphics, and Browse Saved Images. Click Browse Free Stock Images.
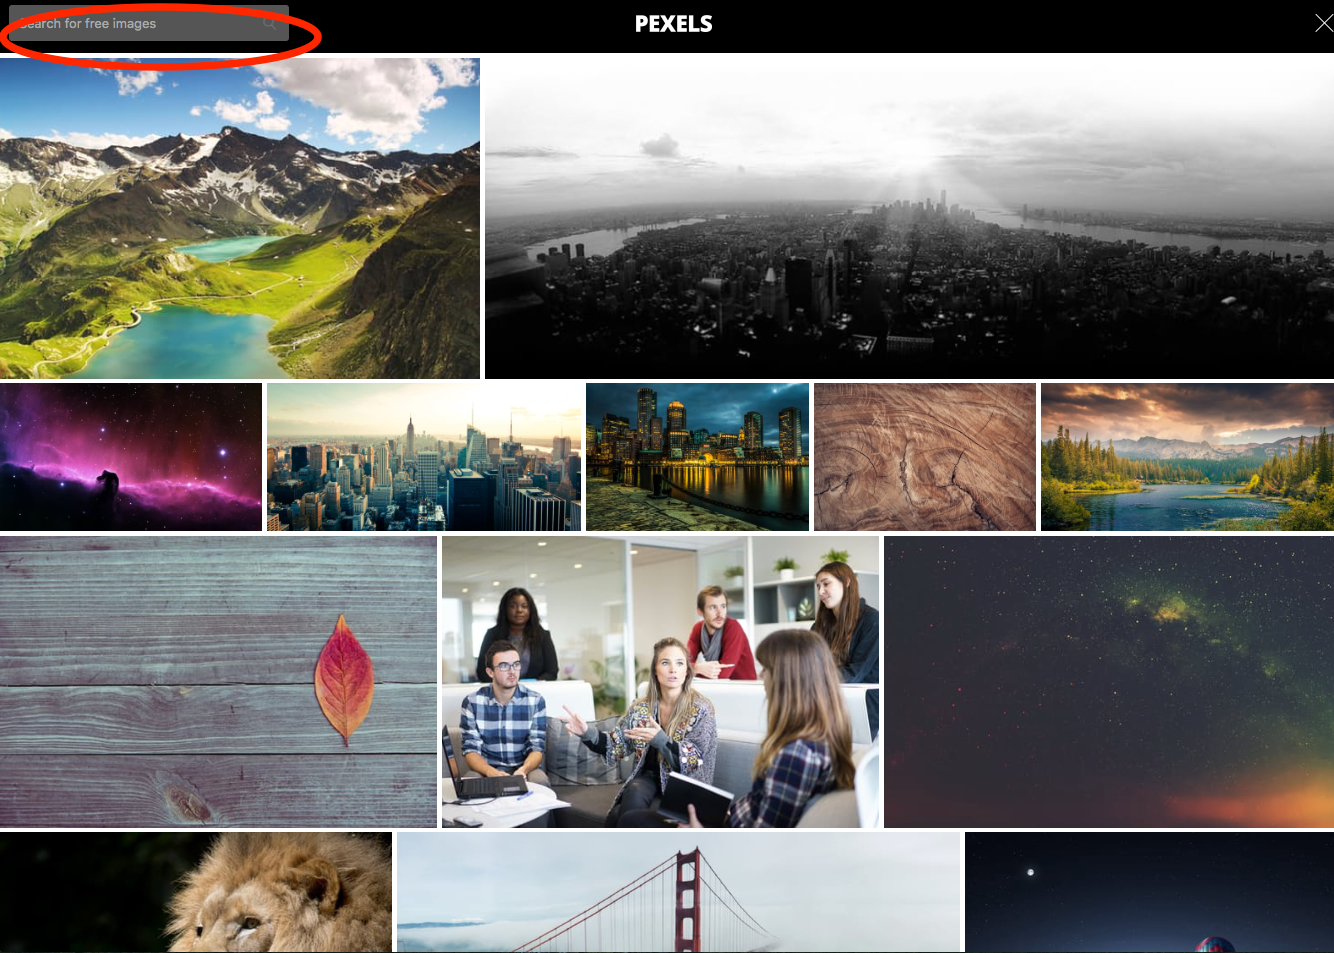
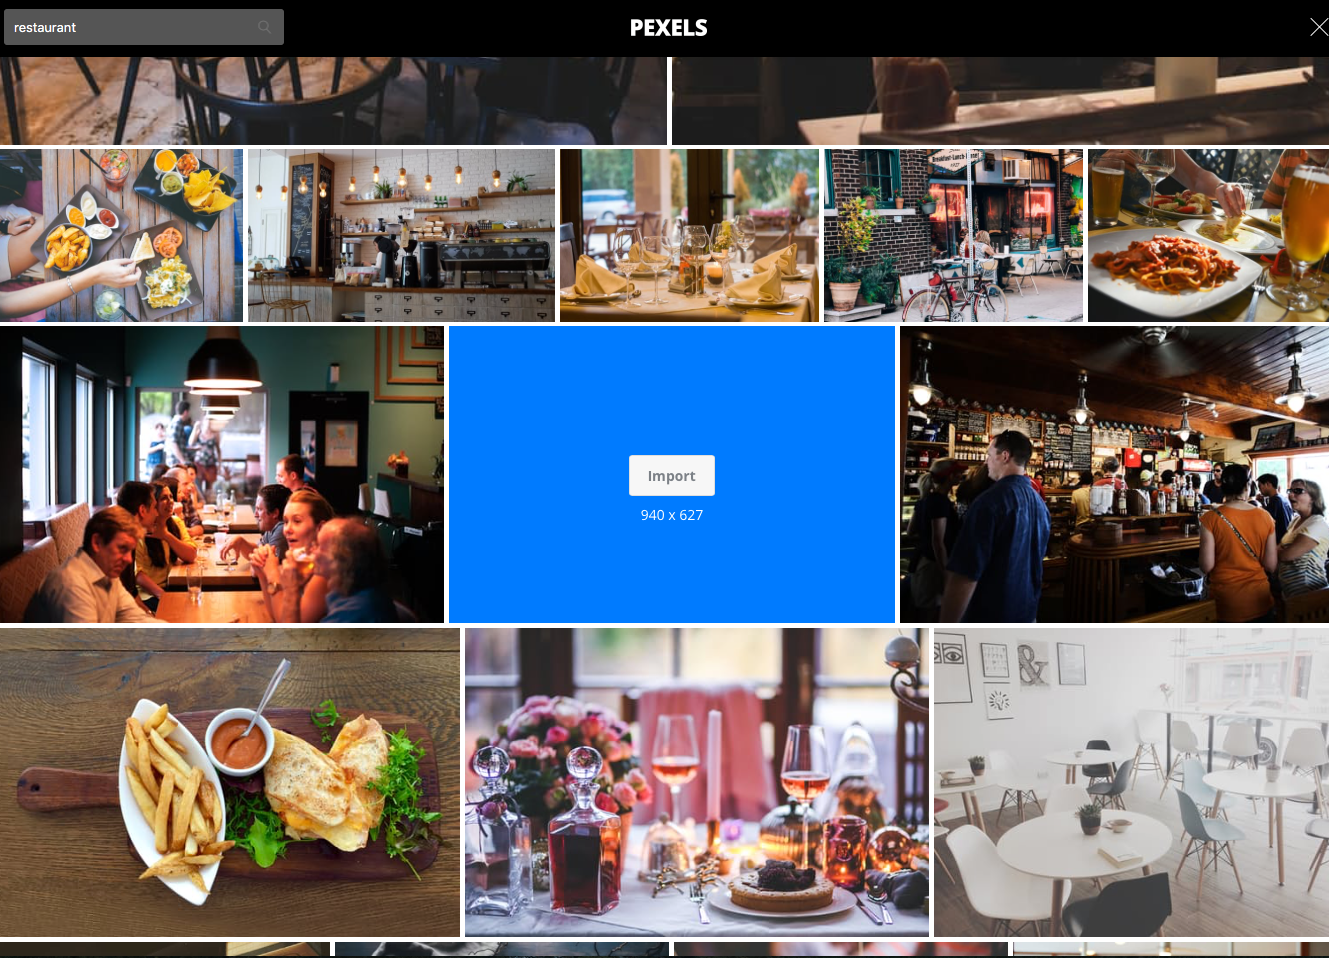
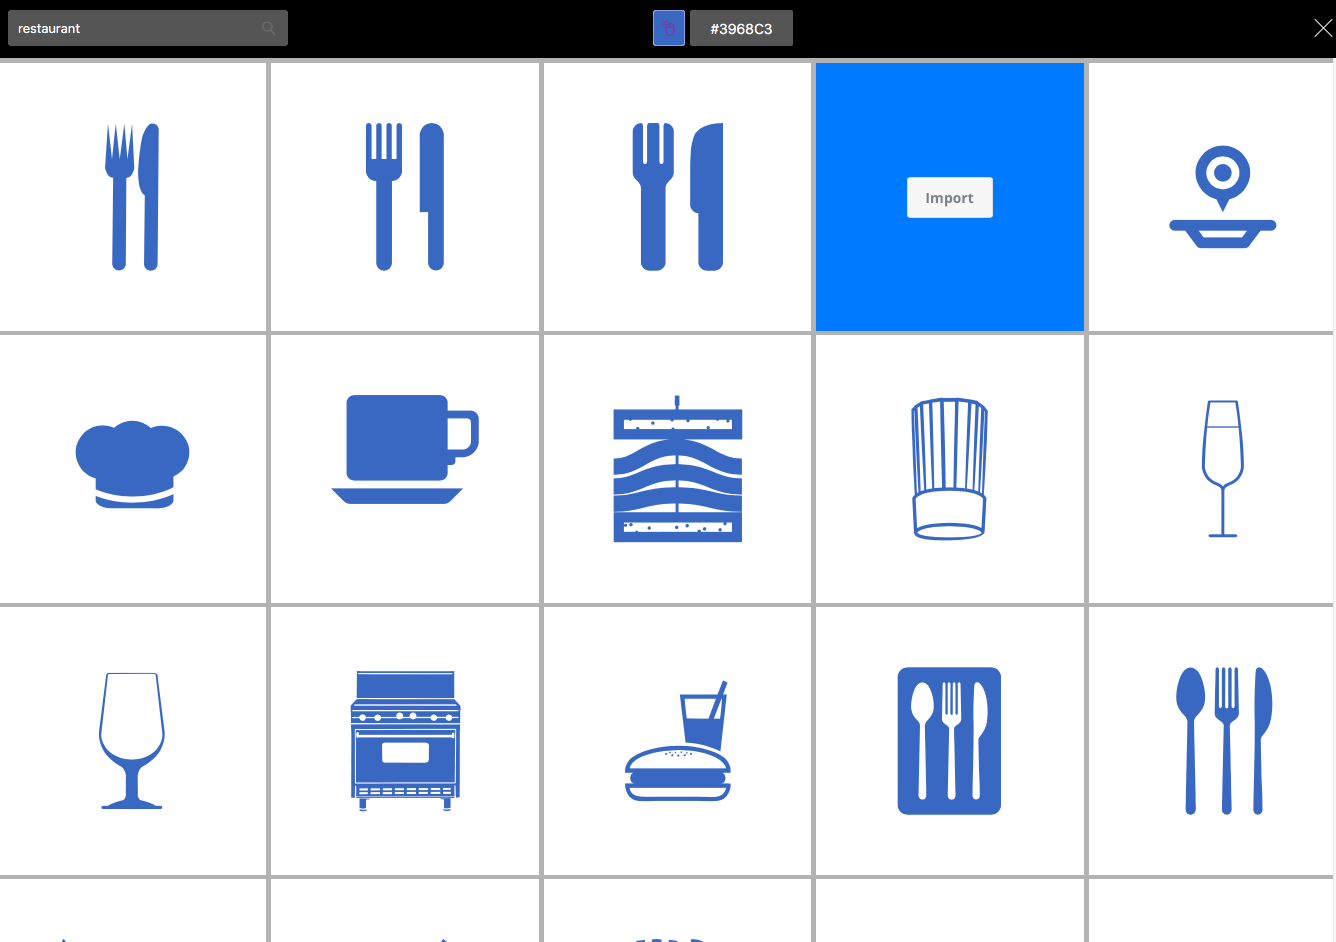
Once you’re in the stock image library, you can use the search bar in the top left corner of the page to find the perfect photo for your email. From restaurants and clothing to landscapes and animals — whatever you’re looking for, you’re bound to find a great photo that complements your content.
After you’ve clicked on your selection, click the Import button to add the image to your email.
Adding graphics
If you want to add a visual element that is more illustrative — as opposed to a photograph — we have a wide selection of graphics.
After you’ve clicked Replace in the image editing menu, click Browse Free Graphics.
One again, use the search bar to find the graphic that fits best with your email. You’ll notice that all of the graphics are black. This may be fine in some circumstances, but if you want the graphic to match your business logo or email template, for example, you can change the color using the color picker at the top of the page.
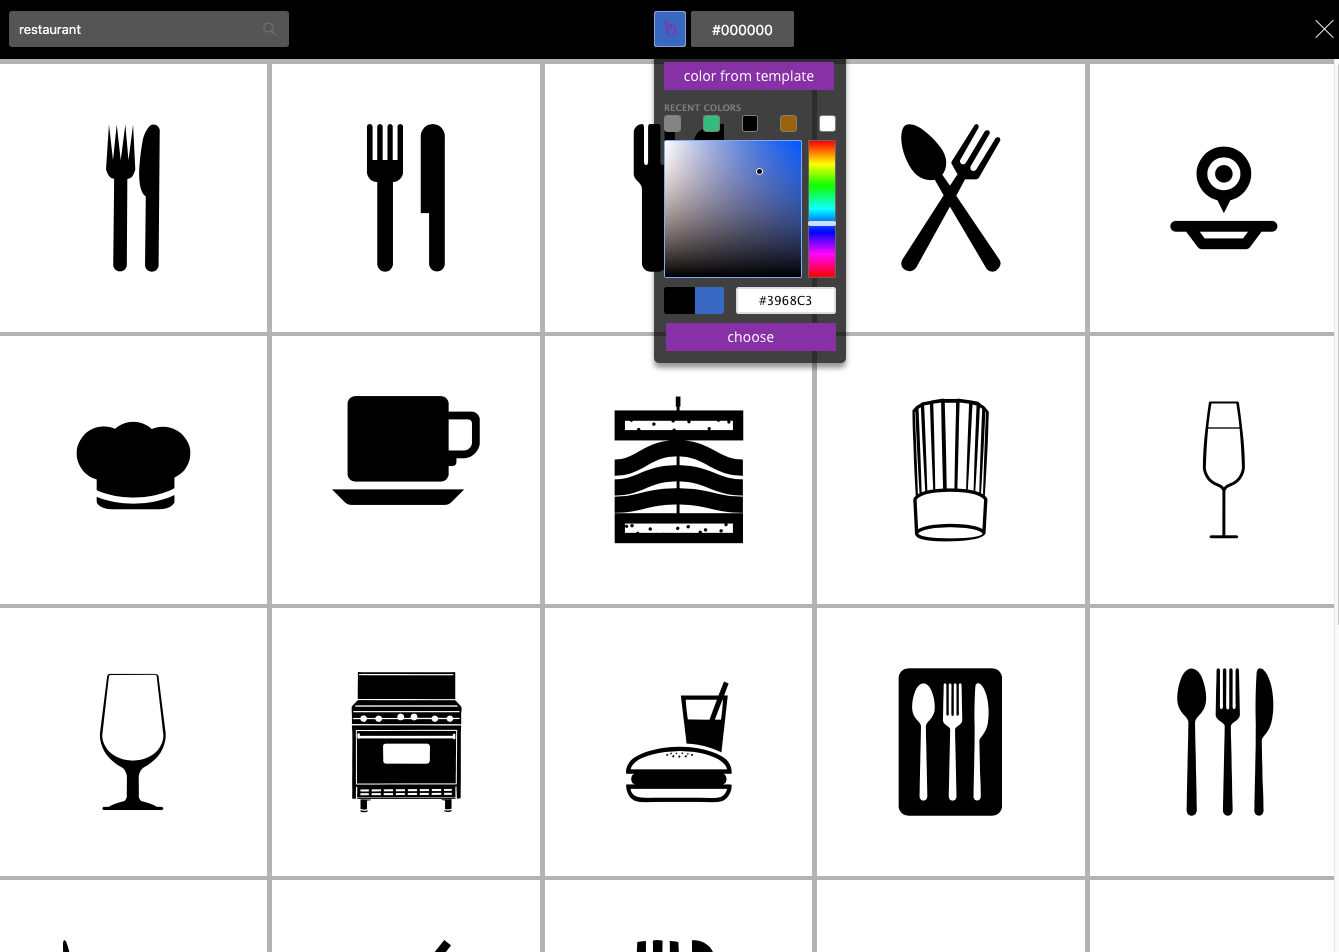
After you’ve made any color changes and clicked on your selection, click the Import button to add the graphic to your email.
In-app image editor
Now there’s no need to use expensive photo editing software or waste time editing your images in another app. The new VerticalResponse email editor has everything you need to get your images looking exactly the way that you want them to. Not only can you resize, crop, rotate, and adjust how dark or bright your photos are, but you can also add fun embellishments like frames, filter effects, and stickers.
After you’ve either uploaded your own image to your email or imported one from the image library, you can access the in-app photo editor by clicking on an image content block in your email. When you see the image editing menu on the left sidebar, click the Edit button.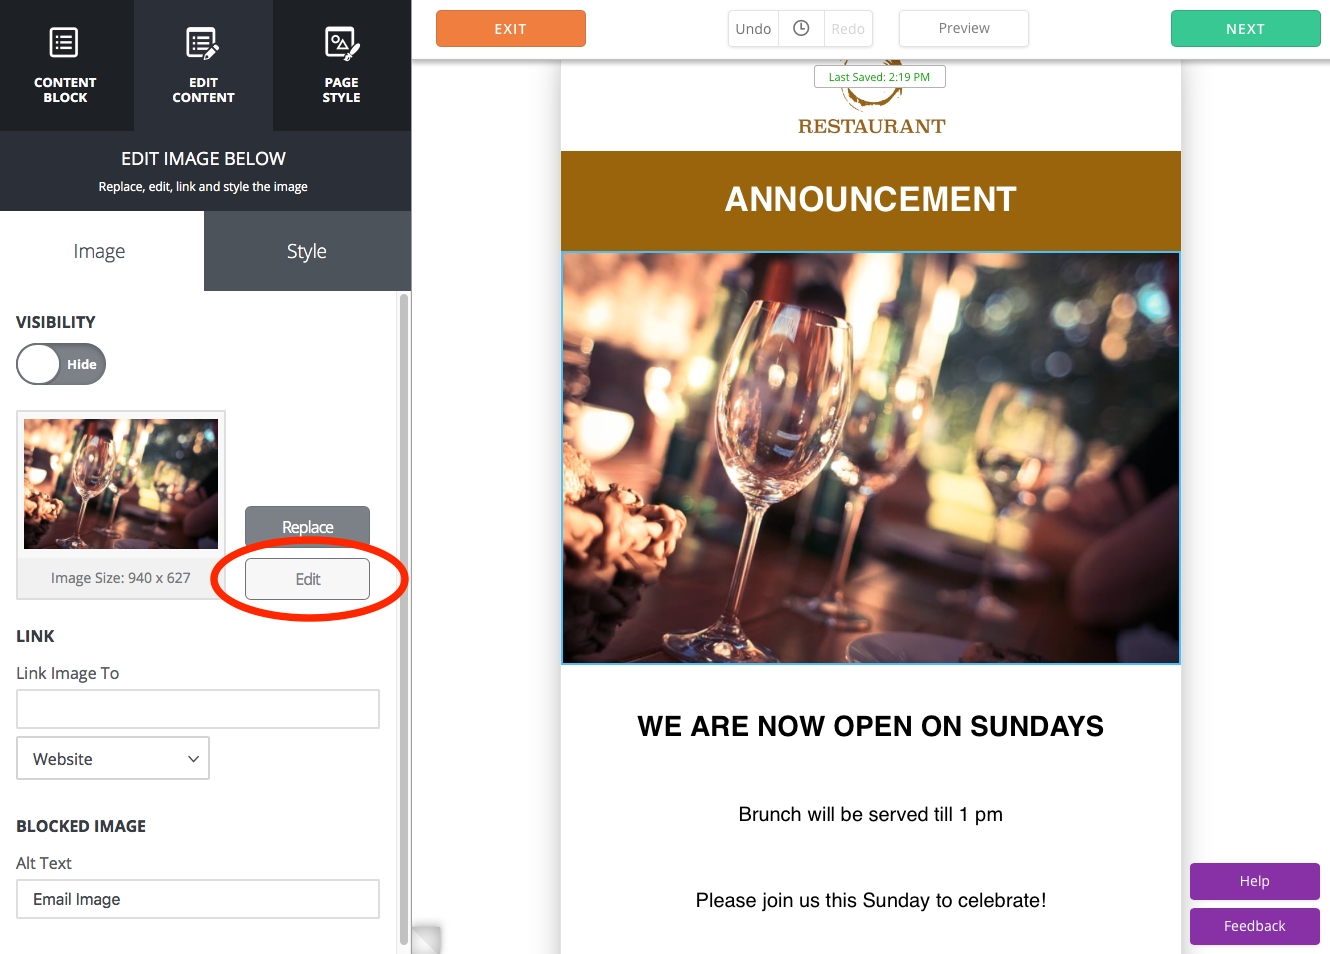
Once the photo editor pops up, you can spruce up your image by clicking any of the icons on the toolbar.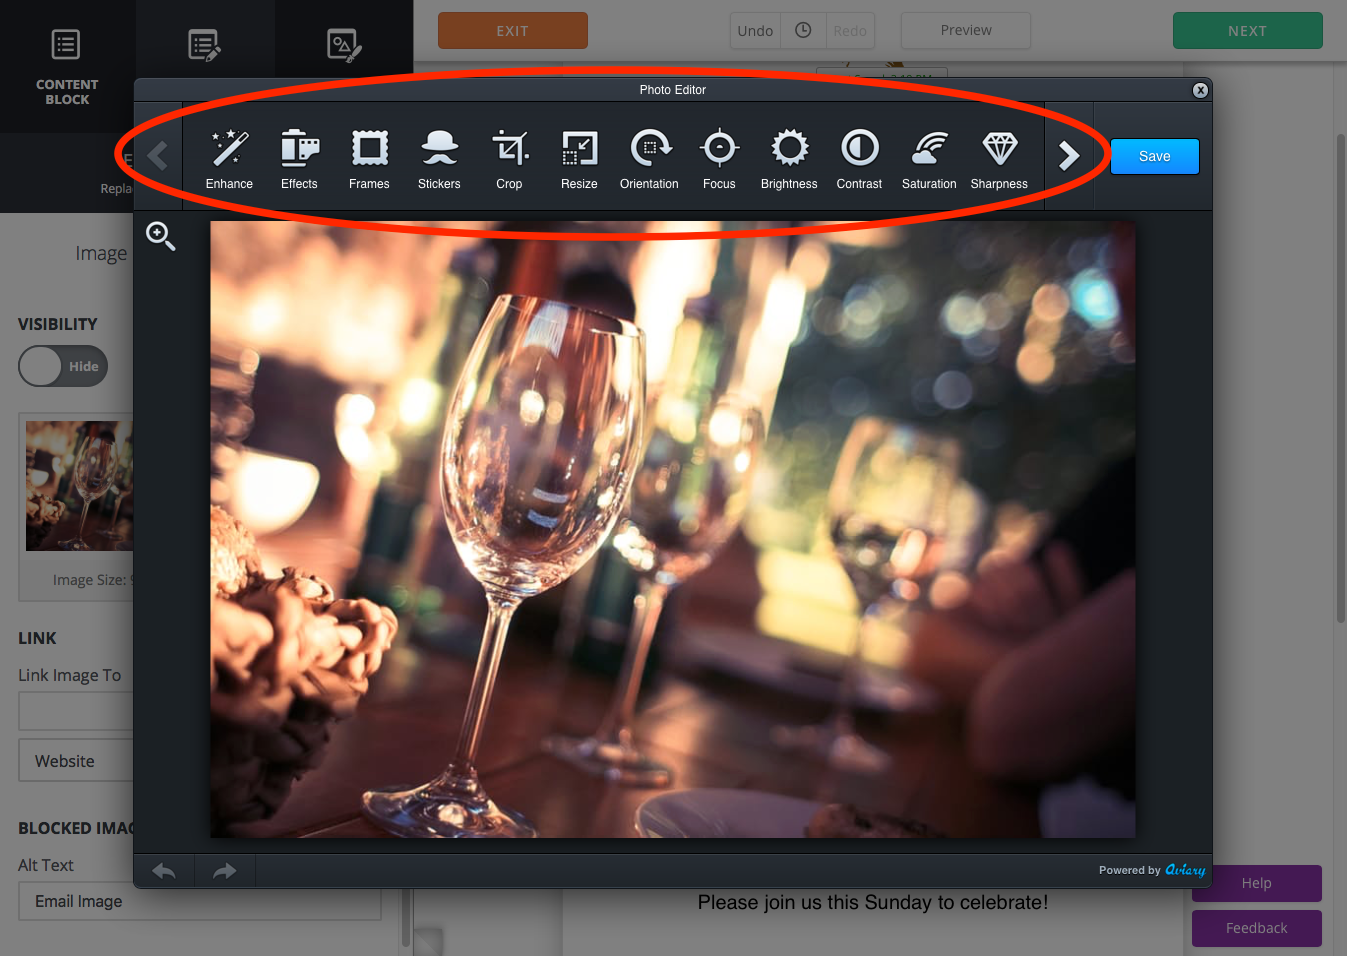
After you’re satisfied with the adjustments or edits you’ve made, click the Apply button to make the changes stick. Clicking Cancel will reverse all of the adjustments you’ve made and allow you to exit out of that tool.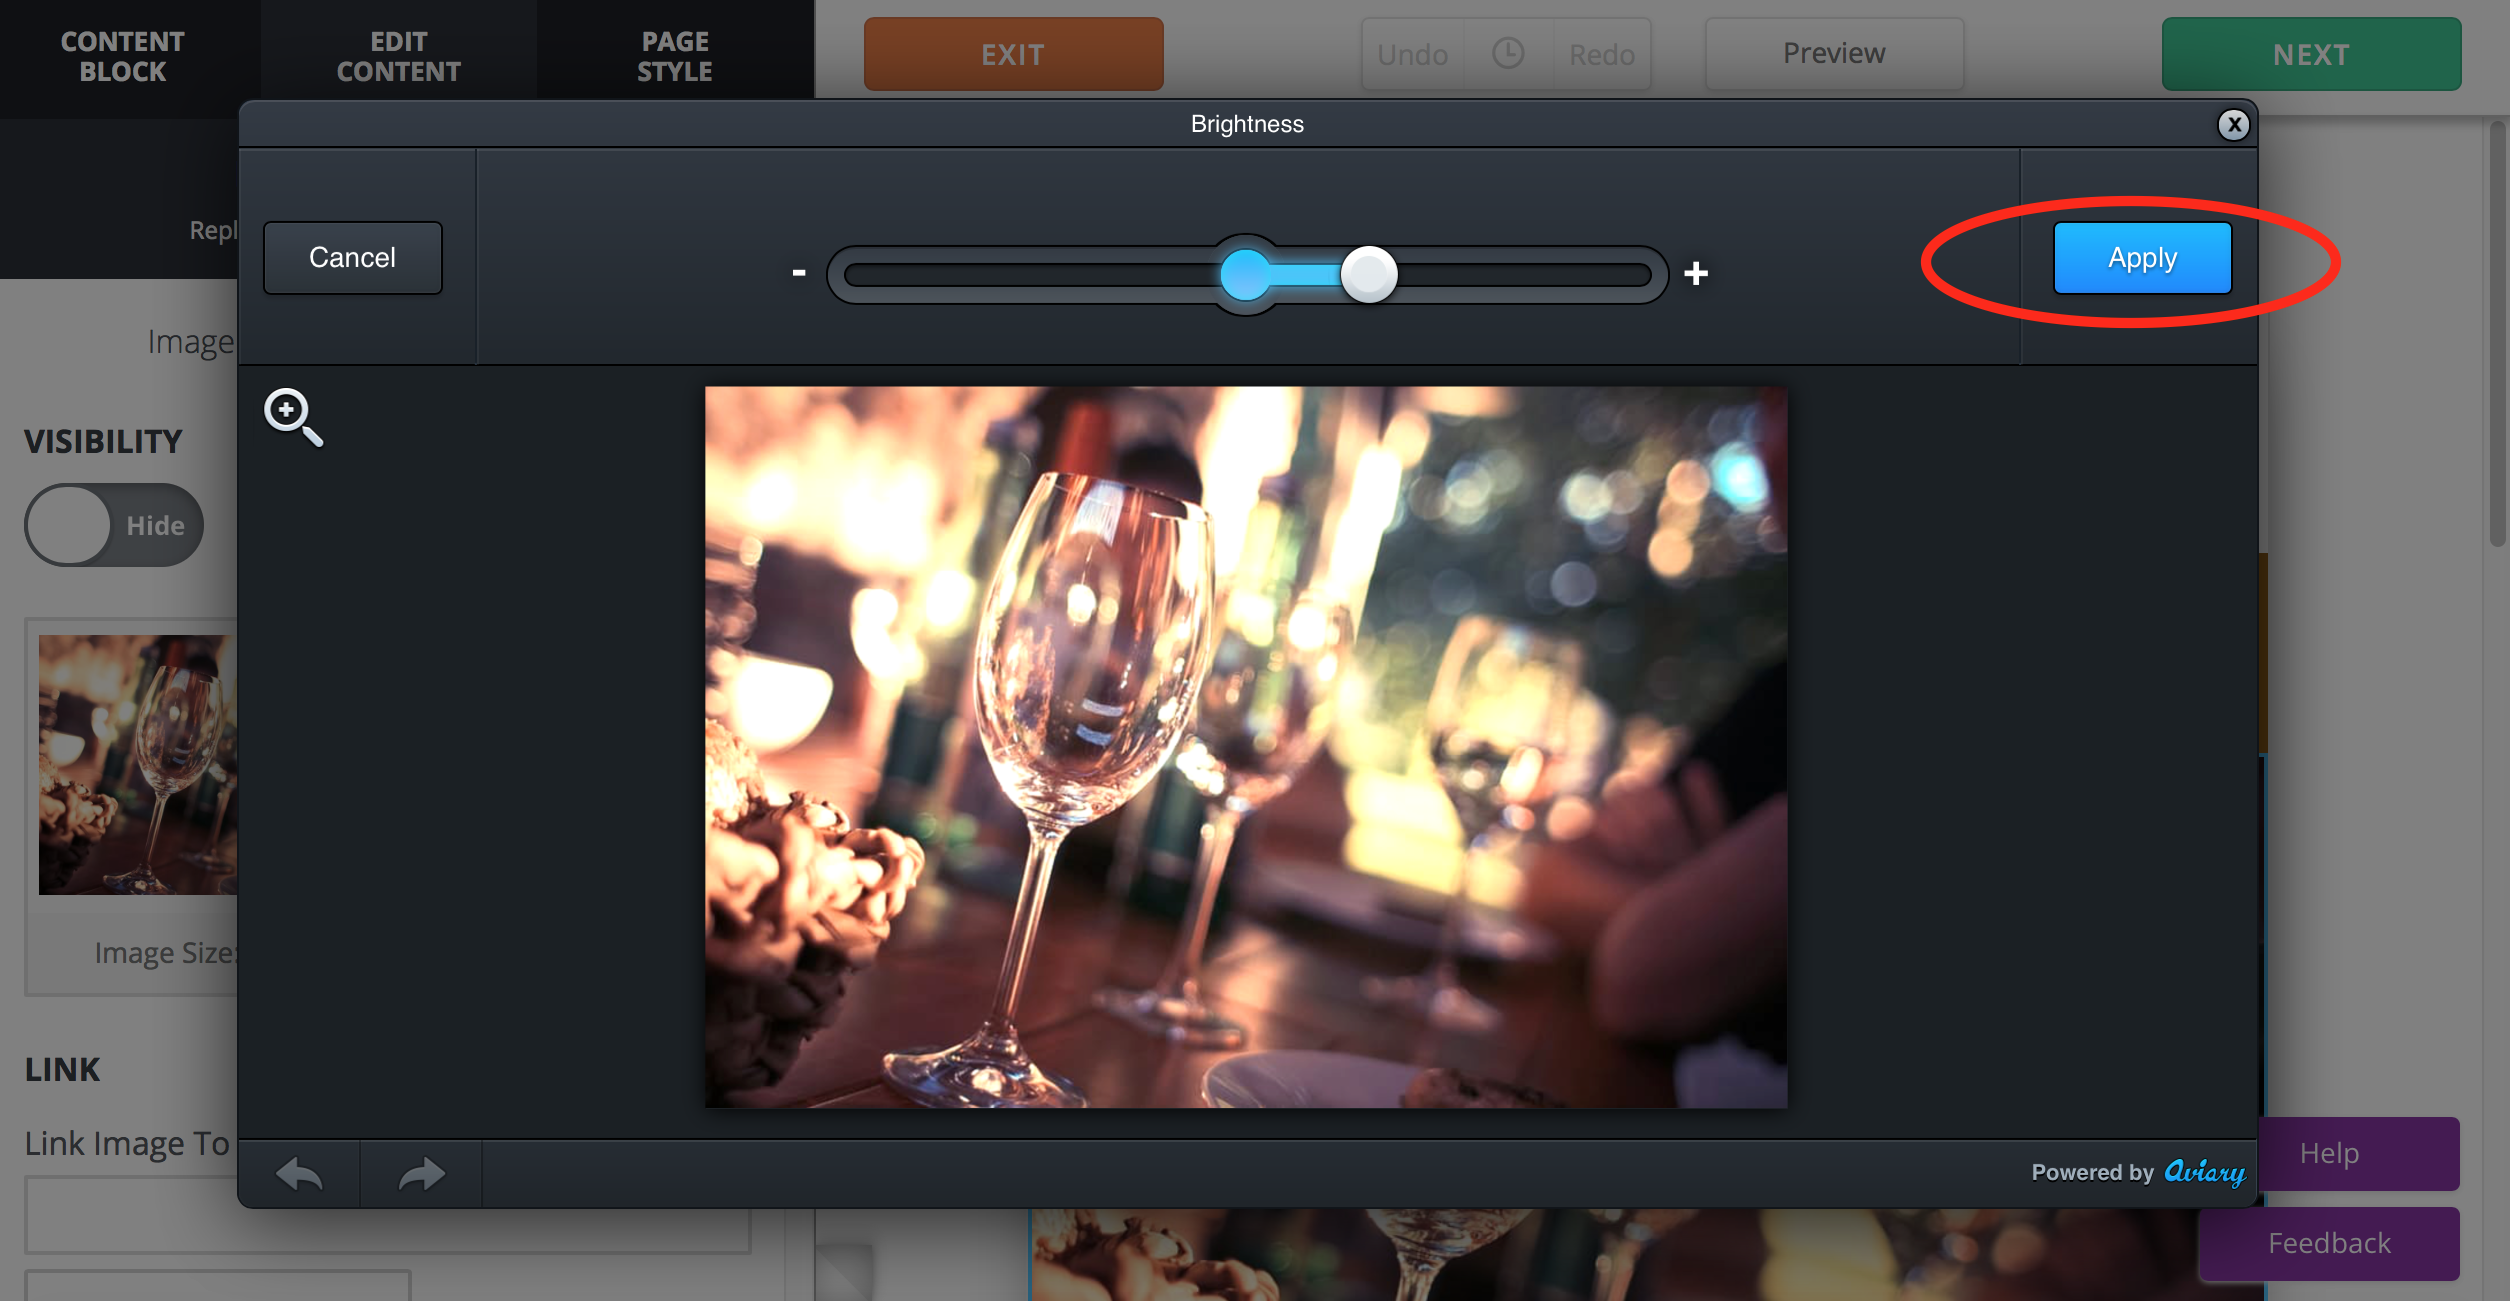
If you click Apply, but decide that you’re unhappy with the change you’ve made, you can click the “undo” arrow on the bottom left corner of the image editor. Alternatively, click the “redo” arrow beside it to re-apply the previous edit.
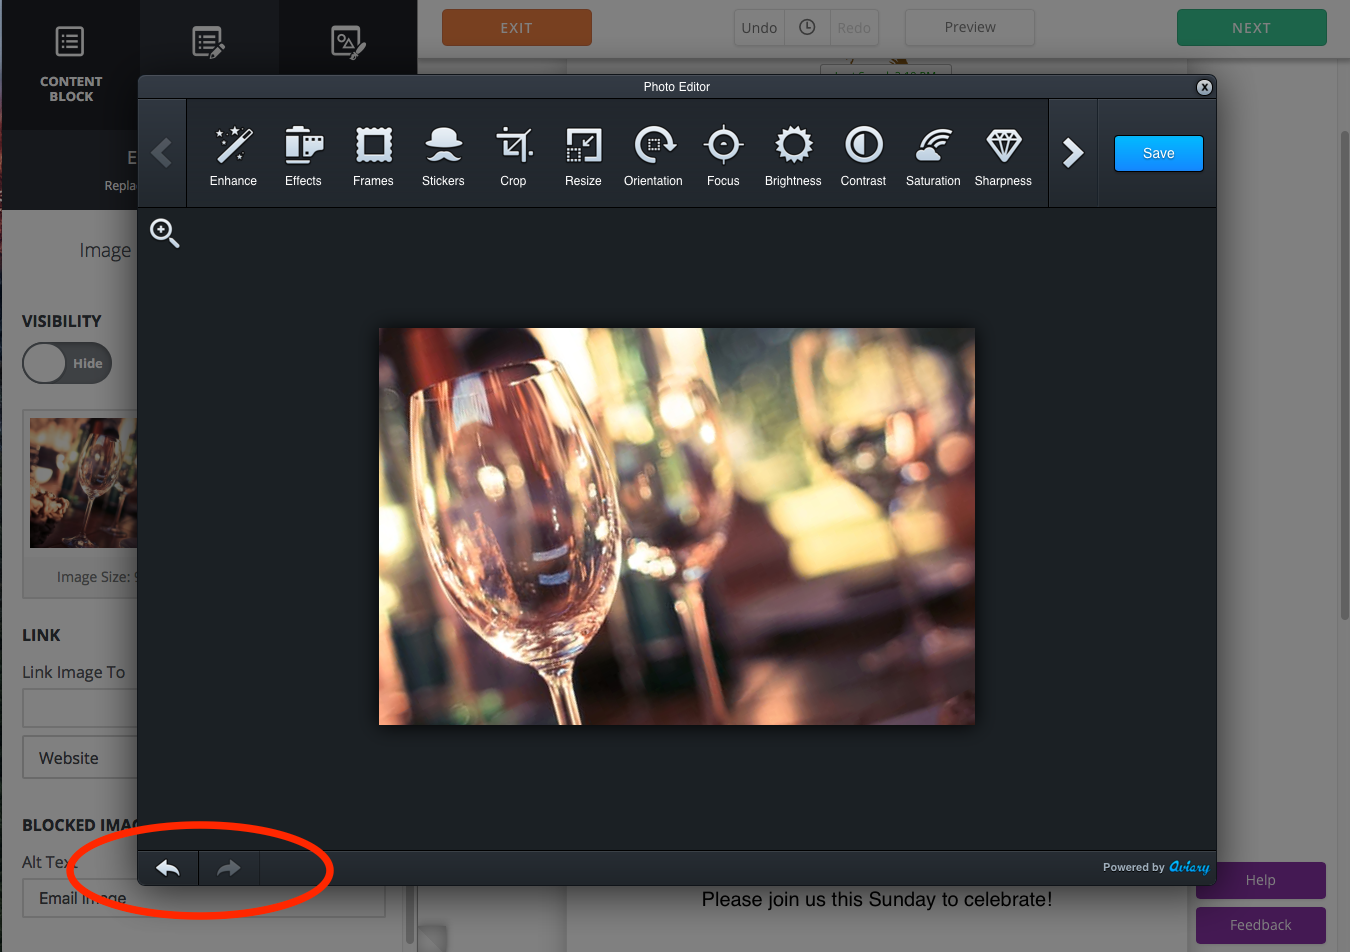
When you’ve made all of your edits and are satisfied, click Save.
Our new editor makes creating and sending professional-looking email campaigns faster and easier than ever before. Find out more about the editor update here.
Build, send and track emails that look great on any device
© 2017 – 2018, VerticalResponse. All rights reserved.


 Features
 Pricing
 Partner
 Blog
Blog Support
 More
More Terms of Services
 Privacy Policy